Conducting a Failure Analysis and Autopsy
The Challenge
A customer contacted us about cells that were showing signs of rapid failure and occasionally rupturing while in their products. They asked us to examine the cells and work out why they were failing. Our initial examination didn’t reveal anything unusual, so we investigated further and identified several likely causes outside of cell defects and other mechanical failures.
The Solution
We started with physical teardowns and examinations of the failed cells. When that didn’t show any obvious failure mechanism, we tested new cells to evaluate possible failure modes. We also talked with the customer about the cell-use profile and operating conditions.
The Results
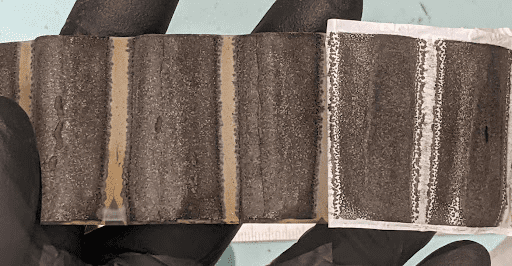
The cells showed evidence of significant overcharge. Lithium metal was plated across the surface of the anode and in the corner folds of the jelly roll. However, a physical examination of the cells showed no obvious cause for the overcharge.
After talking with the customer, we concluded that the battery management system and the unique use profile were most likely behind the cell degradation. We suggested making adjustments to the charging protocol and the battery management limits to reduce the likelihood of overcharging and cell damage.
“The first time you autopsy a cell you might not notice anything. After the thousandth cell you autopsy, you can start to understand the cell’s entire history.”

Operations Manager
Designing Z-Height Measurement Test Fixtures
The Challenge
A customer needed a way of measuring electrode thickness variation while a cell is cycling. Their test process also required a very specific amount of clamping force for the cells on cycle, which isn’t standard for the cell testing we do here.
The Solution
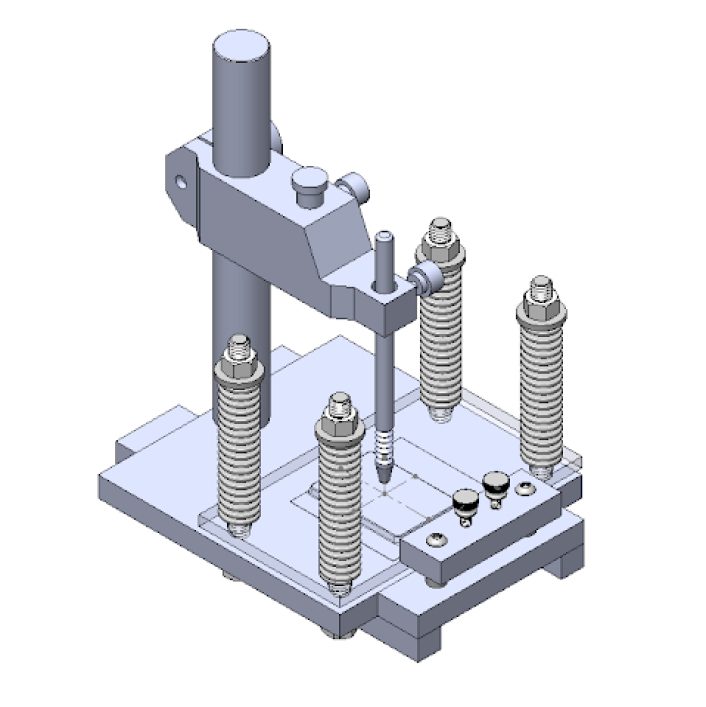
Building off our existing custom pouch cell test fixtures, we designed a new solution that could hold a cell under an adjustable and controllable amount of pressure, while continuous Z-axis variance measurements were being collected during cell cycles.
The Results
We have now made multiple Z-height test fixtures, which allow us to collect live data on changes in cell thickness during a test regime. The data is useful when studying the performance of silicon anode technology, which typically requires higher consistent cell pressure and can show significant changes in anode thickness during cell cycles.
“These new fixtures easily accommodate a variety of cell sizes, and are great for monitoring the change in a cell’s Z-dimension while on test”

Design Engineer
Making Wound Lithium Metal Cells
The Challenge
This customer was looking to build prototype 1Ah+ lithium metal pouch cells. Because lithium foil is moisture sensitive, we had to develop processes for lithium foil handling and pouch cell assembly in an inert atmosphere. Cell assembly challenges included electrode trimming, tab welding, and stacking – all of which are typically done in open air.
The Solution
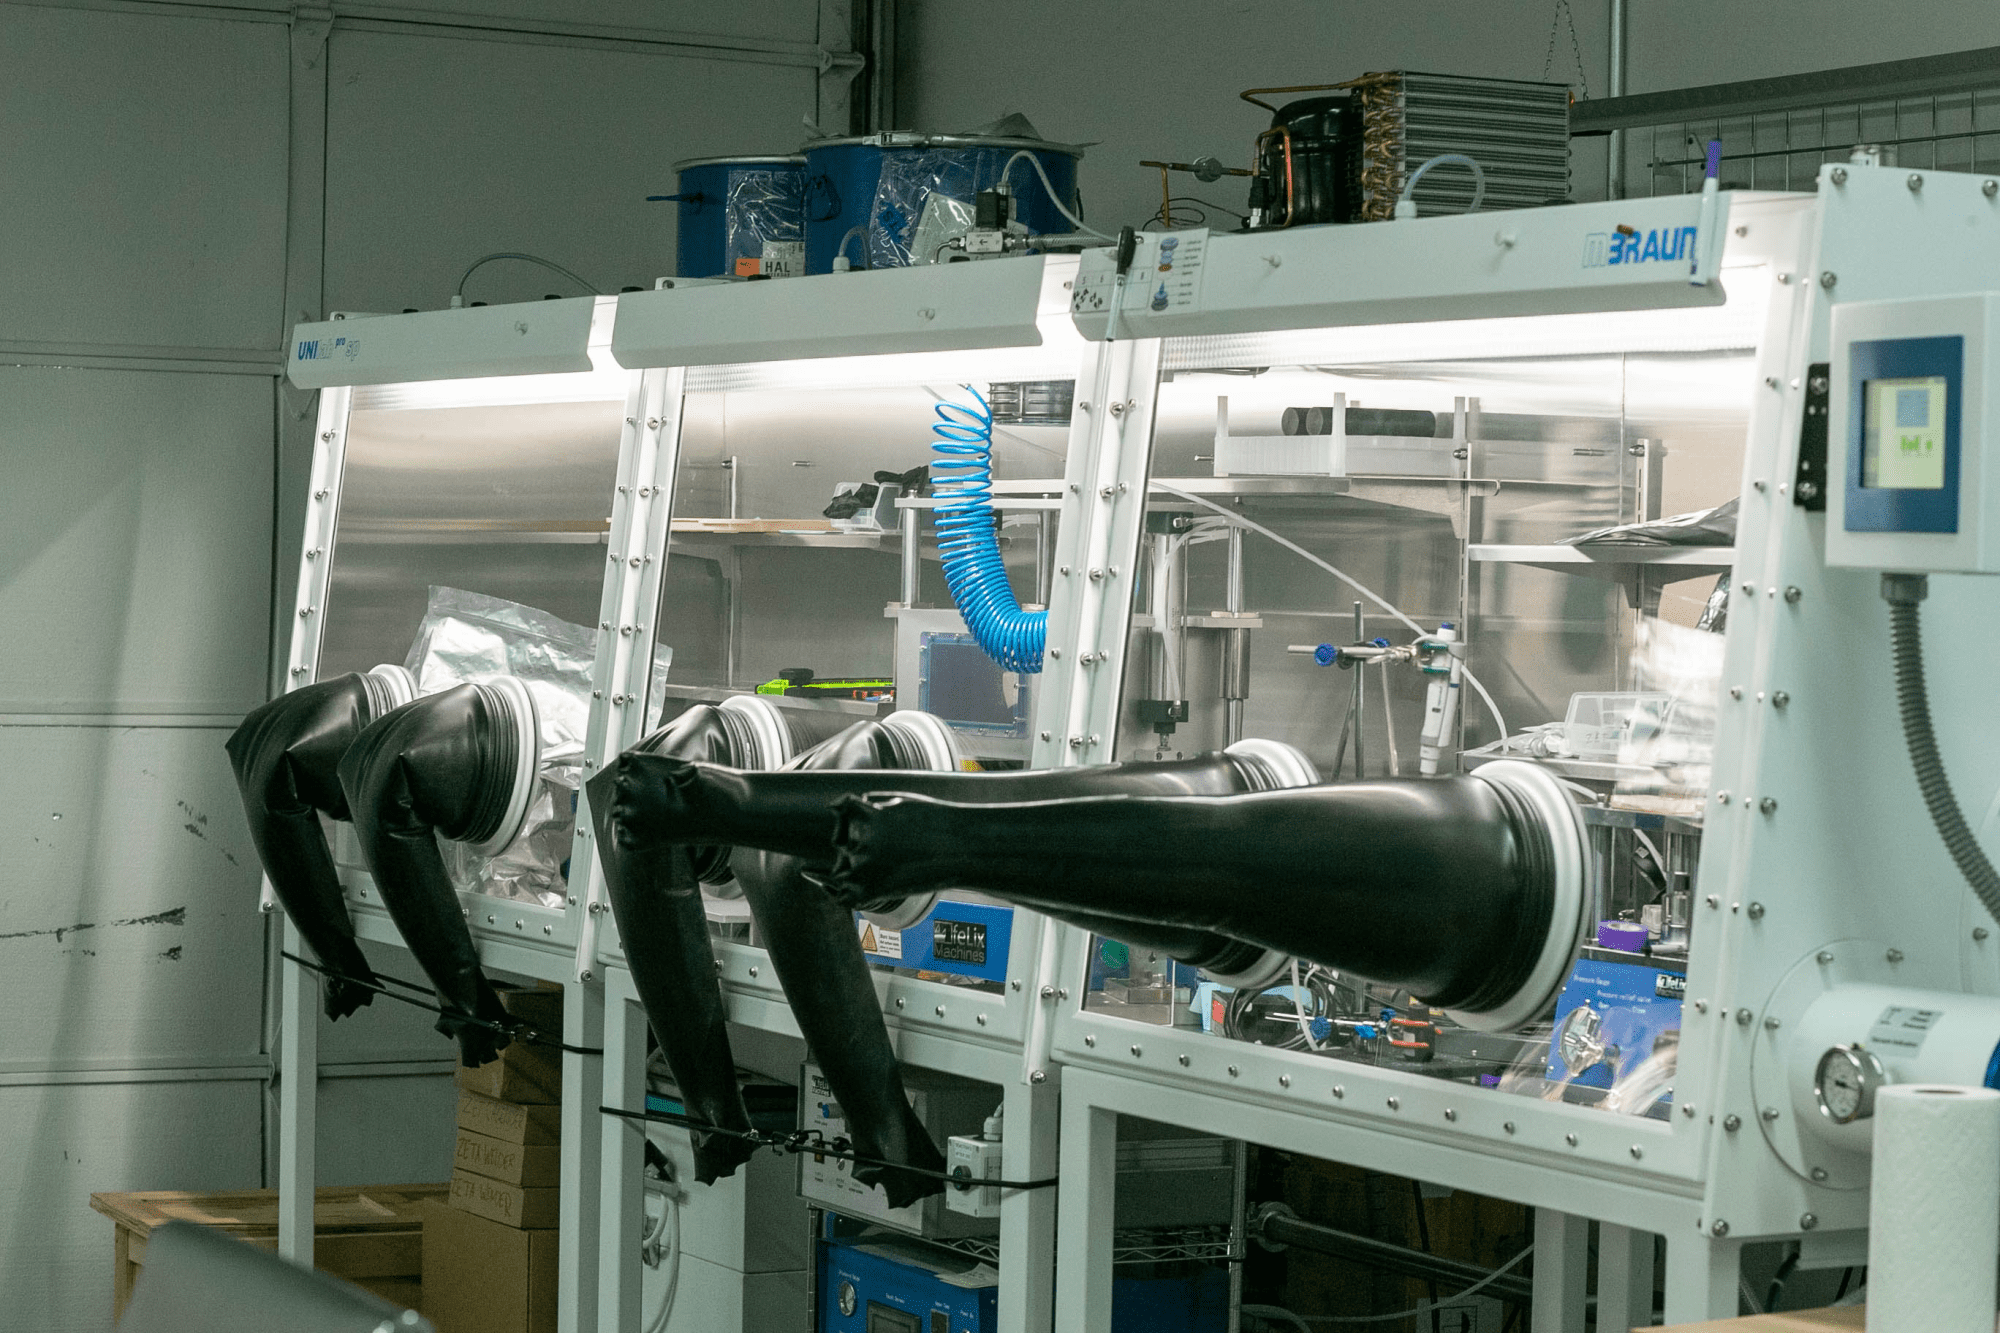
Thanks to our close partnership with Felix Machines, and our amazing inhouse engineers, we were able to devise a cost-effective solution for an assembly line enclosed in a glovebox. The design process included developing a method to wind electrodes in a jelly roll (rather than the more standard z-fold method). This made it easier to accommodate lithium foil purchased from suppliers, and it accelerated the manufacturing process in a restrictive glovebox environment.
The Results
The combined effect of our process-engineering and cell-building skills meant we could develop a new cell assembly technique for the customer and provide them with the plan set for building their own prototyping capabilities. The cells that came out of this project provided the customer with their first-ever working lithium metal pouch cells to demonstrate their technology. No small feat!
“Building out the Li metal assembly line was challenging because the processes had to be accurate and repeatable for human operators working in a glovebox.”

Design Engineer
SNS Electrochemical Prelithiation in a Single Layer Cell
The Challenge
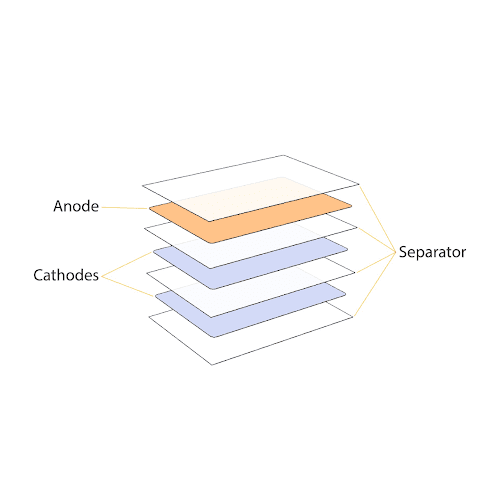
A customer wanted to prelithiate the anode to create a lithium reservoir to account for the first cycle loss of their material. The difficulty here was finding a way of removing an extra electrode from the middle of a z-fold single layer stack while maintaining alignment of a stacked cell and ideally minimizing the handling of the stack.
Previous methods had us unstacking and restacking a cell in a glovebox. The design had double tabs for the cycling electrodes that were trimmed and then resealed, with more electrolyte added to make up for the electrolyte lost while opening the stack.
The Solution
We had a lot of room for developing the methodology for electrode removal, and we started with preplanning and what we knew. Having done a lot of autopsies in the glovebox, we had some idea of how well we could handle the stack and what challenges we’d need to overcome.
The first step was to perform atmosphere-safe proof-of-concept experiments to see if we could go the simplest route of adding another electrode and separator and sliding out. When we added certain electrolytes, the cathode would rip into pieces in the glovebox and we’d destroy the stack quality while trying to get the pieces out.
So, back to the drawing board to find an alternative stack method and ideally multiple ways of removing the cathode if something failed. We ended up slightly modifying our standard stack method and adding tape in specific locations and circumstances. This allowed us to keep the stack quality even with more viscous electrolytes.
The Results
By prelithiating the anode material, we successfully accounted for the first cycle loss and increased cycle life. We also got some surprising insights about material quality and failure points, which was an unexpected treat. The method we’re using is simpler than previous methods, so the process is less cumbersome.
“The standard methods for prelithiation were so time-consuming and unreliable. Our SNS process has removed many of the barriers to prelithiation at a prototype scale.”

Lead Technician
Start your journey today
Whether you know exactly what you need, or you’ve never done this before, we’ll plot your route to commercialization.


